After purchasing the harp video tutorial(from artists website) and doing the tulip tutorial from the magazines website, I decided to use this picture as an extra tutorial. There is very little available in tutorials, books and general howto's. the components in my piece still need to have suede backing, edge stitching and to be connected.
I've taken a few step by step pics of my third component, which I'll share with you. The first 2 components I was able to follow quite closely, estimating the lengths of braid I needed. When I got to the thrid piece my estimation was way out so I had to take a different curve.
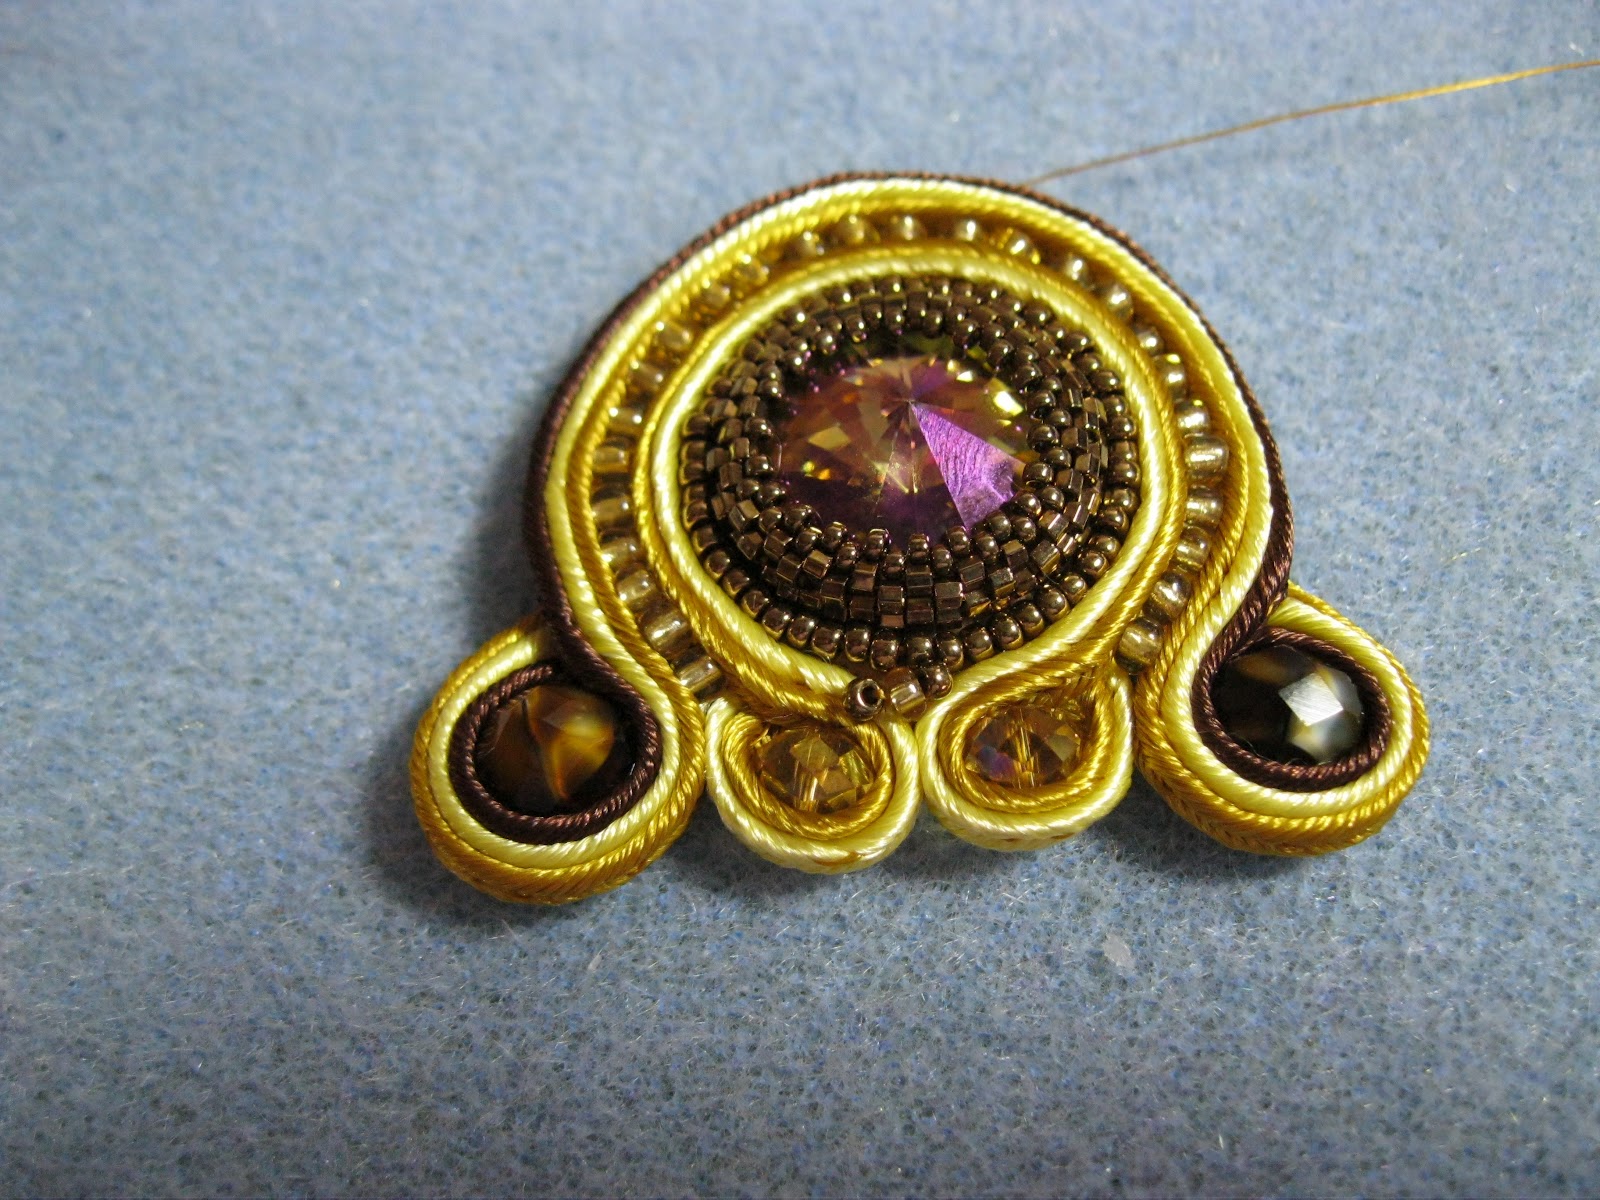
As you can see I started with 6 layers of braid around a 6 or 8mm gem taking just the 2 shades of blue downwards, then the upwards set I split, then added another round of light blue in as I had run out.
I added 4mm between the teal braids, this colour was much softer then the others, I felt it didn't hold shape well. The light blue was very firm with a hard string inside the dark blue was a medium firmness. Particularly with the soft braid you need to watch the needle doesn't make it fluffy.
Because i wanted to continue the braids around I stitched them together first before finishing the ring around the green gem.
I did a bit of extra stitching and positioning with the yellow 4mm before anchoring the underneath part.
I made an extra couple of components
component A
component B
then laid it out to see how they'd fit pushing bits around to get an idea of where to attach them
I attached piece A first then attached B to A then wrapped the bottom piece around stitched to B in a couple of places then anchored B to main part pushing and manoeuvring where I needed to
stitching and attaching where I felt it needed it
till I ended with this
You can stitch back through early spots or beads to get somewhere or make firmer, put bridging beads where you feel a gap needs it. When I'm ready to glue to suede I'll give it a push and poke sitting beads up and settling braid a bit, when it's dry I'll trim it carefully, and not too close, then brick stitch edge beads.
The centre component with the cab - the cab was glued to LSS and stitched as you normally would then I stitched the braid to the LSS going through the ditch then LSS and back through, a bit like what you do on the edge stitch. then I trimmed the LSS and continued joining braid to braid with beads between.
Main Rules
- line all braids with v going same direction
- stitch in the ditch, being easy on tension
- put a few stitchs one braid to one braid of opposite side to pull in firmly before going through the lot
- use a sharp strong needle, no burring on end, the eye about same width as needle (I use an embroidery needle straw 10)
Then play and experiment